If you’re diving into Black Myth: Wukong and want to conquer every challenge, this comprehensive bosses guide is for you. Covering all major chapters, including Chapter 1, Chapter 2, Chapter 3, Chapter 4, Chapter 5, and Chapter 6, this guide details the location and strategies for defeating every boss in the game. Whether you’re stuck on a particular encounter or looking for a complete Black Myth: Wukong walkthrough, we’ll help you navigate the toughest battles, including Chapter 2 and Chapter 3 bosses. Wondering how many bosses are in Black Myth: Wukong or curious about the Black Myth: Wukong ending? We’ve got all the answers you need to emerge victorious.
Travel Journal Location
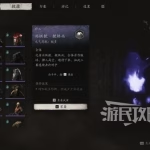
Located below the entry for the demon king in the fifth chapter of the travelogue, “Red Boy.”
Specific location
The main storyline will inevitably encounter the second form of the Yaksha King, which is the Red Boy.
BD Recommendation
For the stick technique, choose the splitting stick at the fourth level of stick power. Max out the forbidden character points, and you can allocate other points according to your personal preference.
Analysis of Techniques and Countermeasures
At the start, directly charge up a heavy stick to hit the Yaksha King, then use the Forbidden Character Technique. At this moment, Zhu Bajie will also come out to draw aggro, immediately moving away from the Yaksha King’s position to start charging up the heavy stick again.
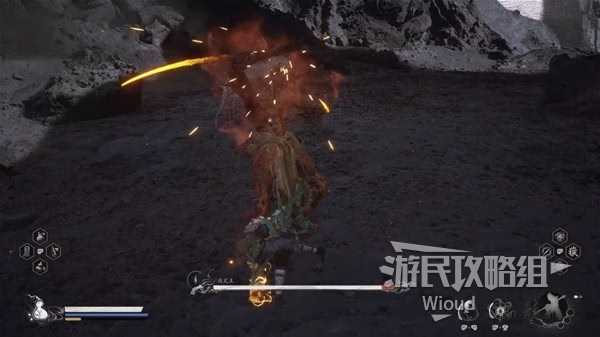
Fill up and run to the position of the Yaksha King to continue the heavy strikes. When the Yaksha King sees us coming, he will use a small combo, so try to avoid letting him do that. Basically, as soon as the Yaksha King slides in for the tackle, we can strike down, and then move straight away from the Yaksha King again.
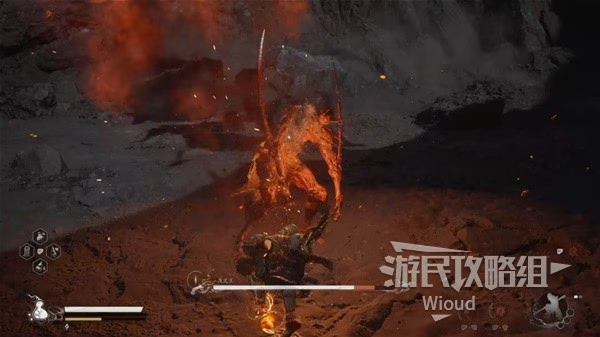
As long as the distance is far enough, the Yaksha King will only use long-range attacks that are easy to dodge against us. The biggest threat is the final hit, so we must keep running in a straight line to the sides to charge up. Once the charge is complete, continue running next to the Yaksha King to deliver a heavy blow, and then repeat the process.
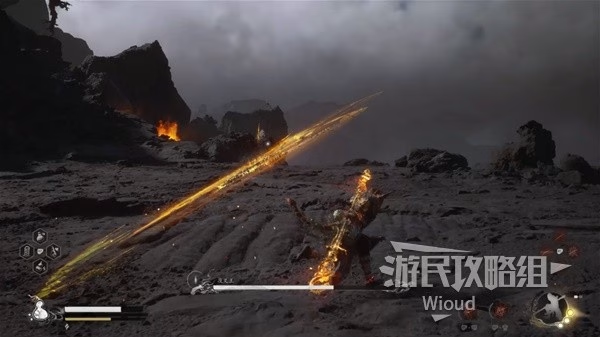
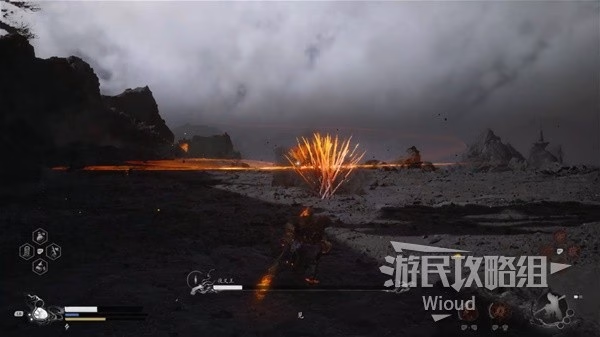
When the Yasha King’s health bar is about one-third full, you need to be very careful, paying attention to the left and right. Depending on each person’s damage, the health will vary. Once it reaches this critical point, you need to run a bit faster after each heavy hit, as the Yasha King will definitely use a large area AOE combo attack at this health level.
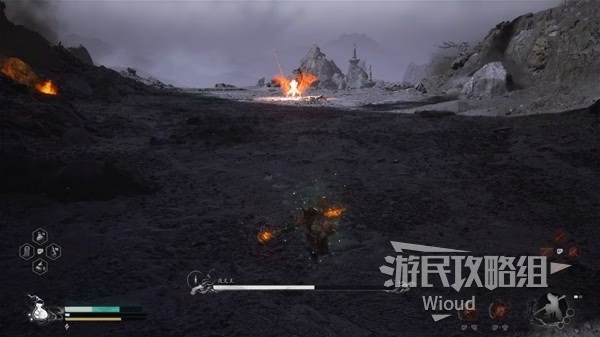
As long as we stay far enough away, it will be fine. That is, during a heavy hit, when I see the health is about the same, I just run away and then continue the above process.
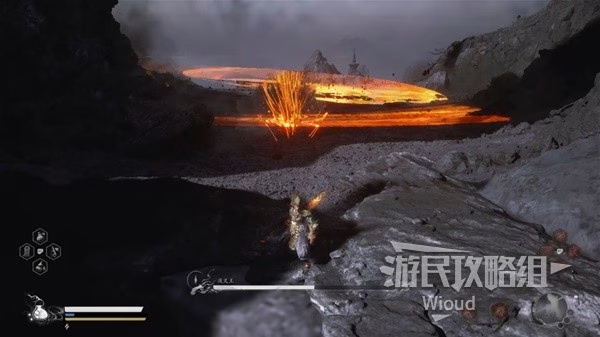
The Yasha King used this large-scale skill for the second time when his health bar was only one-fifth remaining, and then continued to deliver heavy blows to finish it off.
